
Create and publish a post
Write an update, add a photo, choose who hears about it and publish it to residents.
Before you start
- Who can do this: staff who can create content can write posts. To publish them, you also need the Publish content permission. Most staff have both. City admins can change permissions — see Manage your team and permissions.
- If your city reviews posts first, you'll see Send for review instead of Post. See "Send a post for review" further down this page.
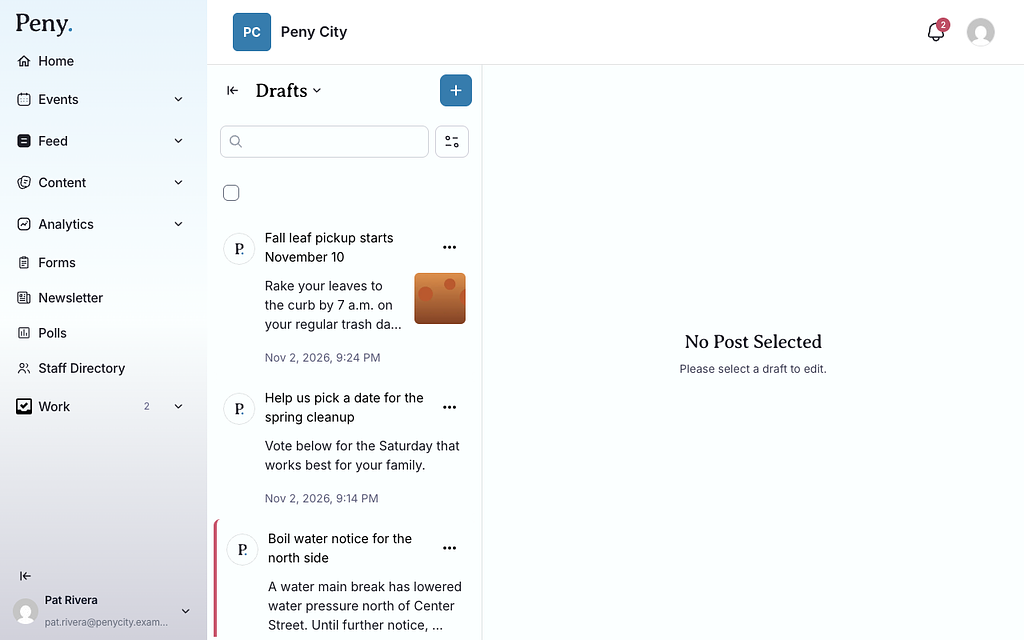
- Every post you start is saved as a draft automatically while you type. Unfinished posts wait for you under Feed > Drafts.
Start a new post
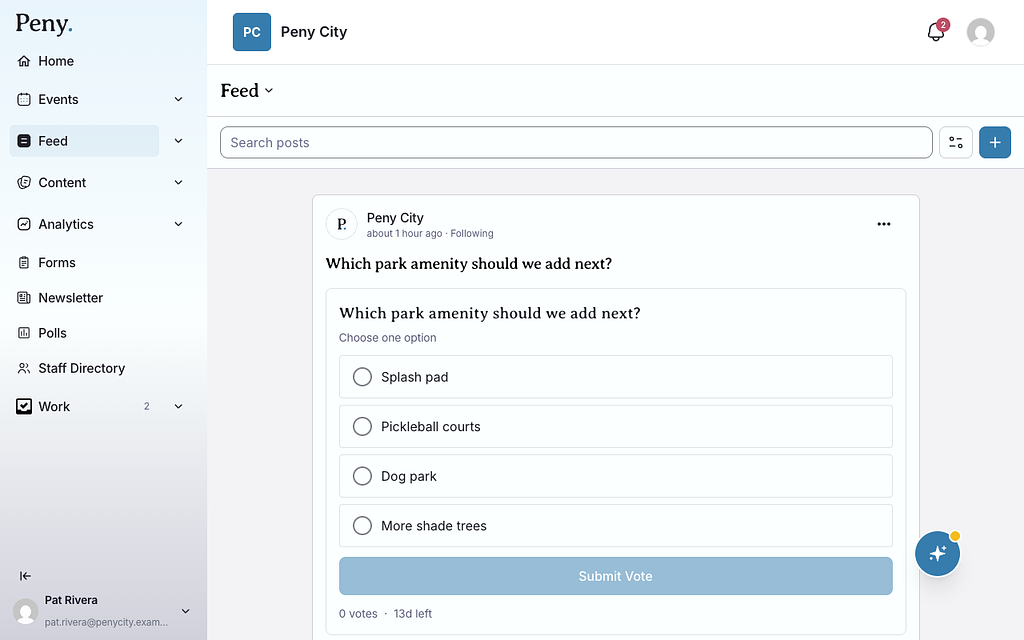
- In the sidebar, click Feed.
- Click the + button (New post) in the top-right corner.
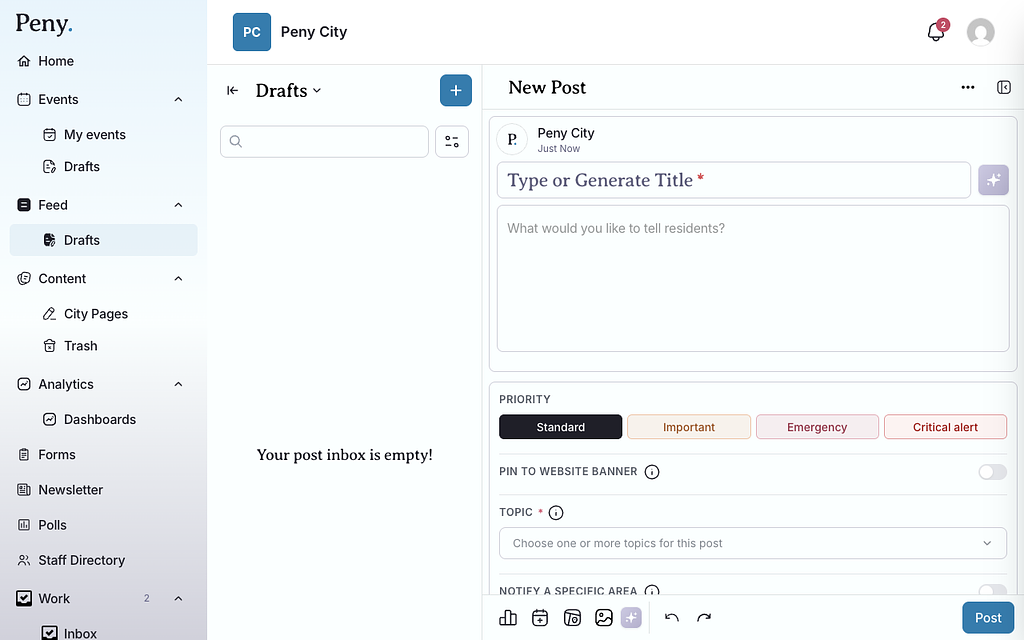
The composer opens with New Post at the top. You can also start a post from Feed > Drafts with the same + button.
Write the post
- Click Type or Generate Title at the top and type a title. Titles can be up to 75 characters.
- Click What would you like to tell residents? below the title and type your message.
- Optional: let Peny's AI help. The sparkle button next to the title (Generate with AI) writes a title from your text. The AI actions Polish, Elaborate, Formalize and Shorten rewrite your text. Always read the result before you publish.
Add a photo or video
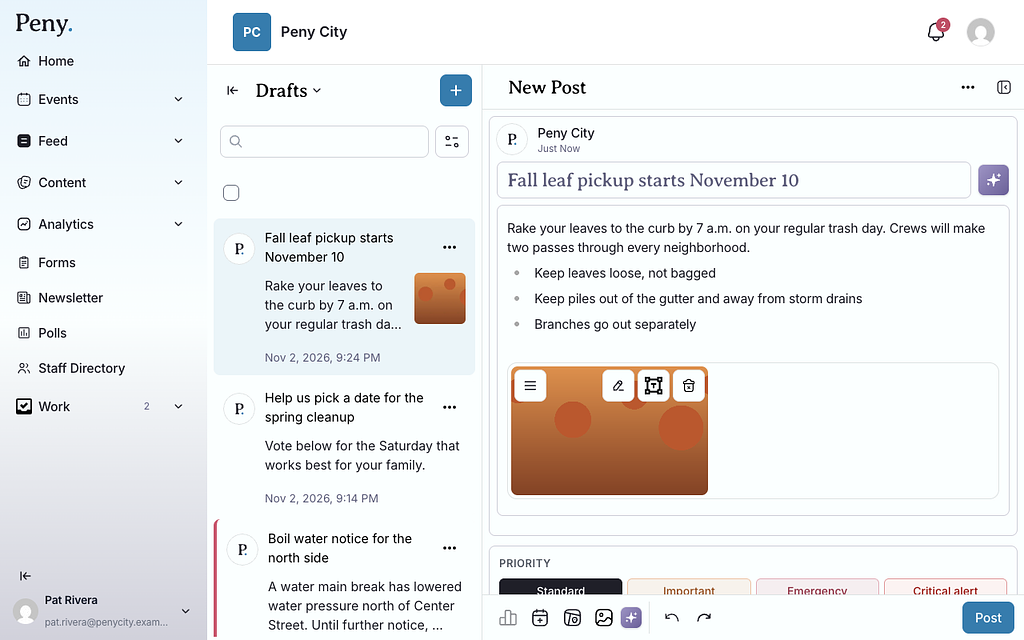
- In the toolbar at the bottom of the composer, click Add photo or video (the picture icon).
- Choose one or more photos or videos from your computer.
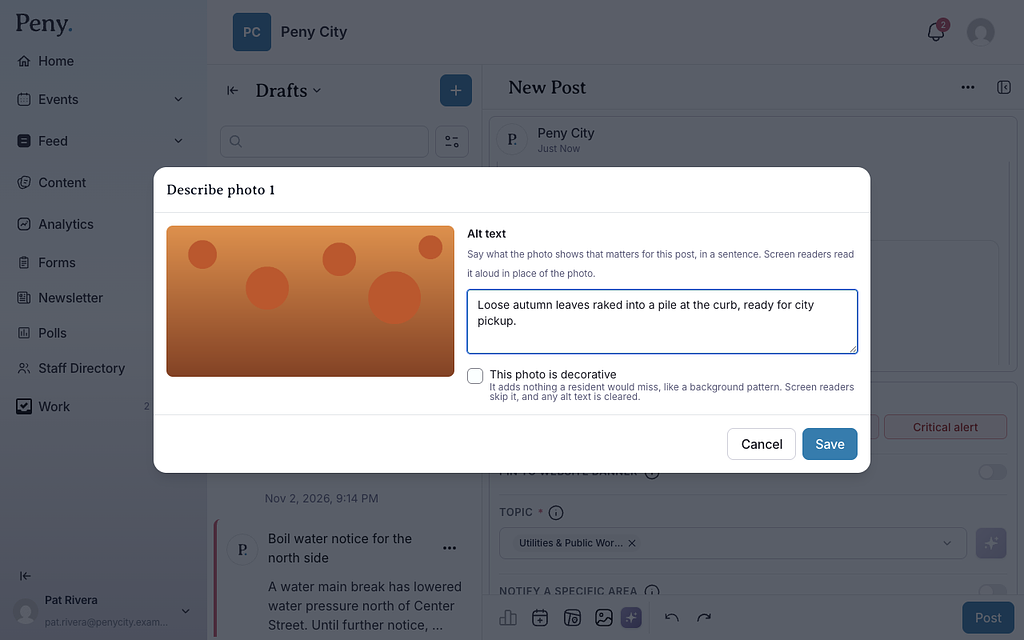
- On each photo, click Describe photo. Type a short description in Alt text that says what the photo shows, or tick This photo is decorative if it adds nothing a resident would miss.
- Click Save.
For a video, click Describe video, answer the question about whether the video shows anything important that isn't said out loud, add a description and click Save.
Good to know:
- Your city may require a description for every photo and video before you can publish.
- A post can have photos and videos or a poll, not both.
- A post with a video appears in the feed once the video finishes processing.
Choose the priority and topic
Below the post you'll find the post options.
- Under Priority, click Standard, Important, Emergency or Critical alert. Standard is the default. For Emergency and Critical alert, see Send an emergency alert.
- Under Topic, open the list and pick the topic that fits your post. The topic is required for Standard and Important posts. It decides which residents are notified, based on the topics they follow.
- Optional: click the sparkle button beside the topic (Suggest topic) to let Peny's AI pick a topic from your text. You can change it before you publish.

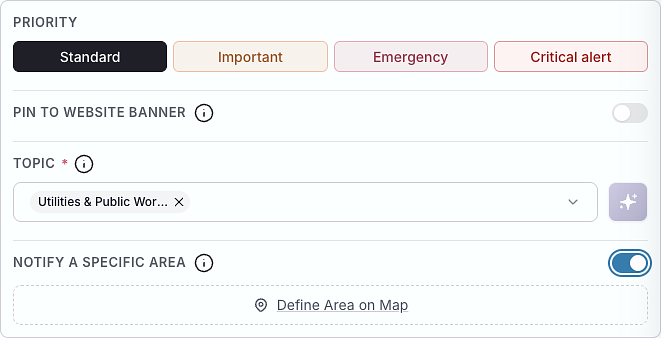
Pin to Website Banner. Turn this switch on to show the post on your city's website homepage and pin it to the top of the Peny feed. Only one post can be pinned at a time. If another post is already pinned, Peny says "A post is already pinned." Click Unpin in that message to unpin it first. Pinning a Standard post changes its priority to Important.
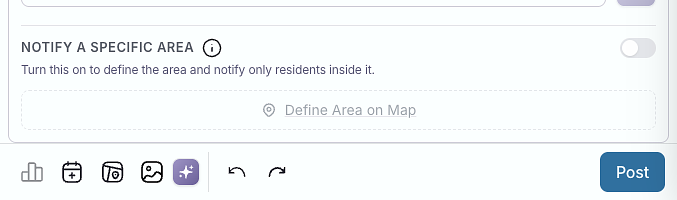
Notify a Specific Area. Turn this on to draw an area on a map and notify the residents who live there. See Target a zone and notify residents.
Add a poll, an event or a map (optional)
The toolbar at the bottom of the composer has more buttons:
- Add poll — ask residents a question. See Ask residents with a poll.
- Add event — show one of your published events as a card in the post.
- Add map — show one of your city's maps in the post, when maps are turned on for your city.
Publish the post
- Click Post in the bottom-right corner.
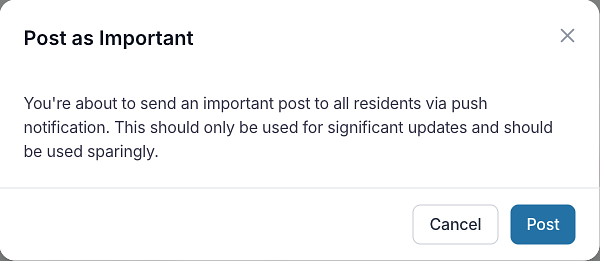
- If your post is Important, Peny asks you to confirm (Post as Important). Click Post.
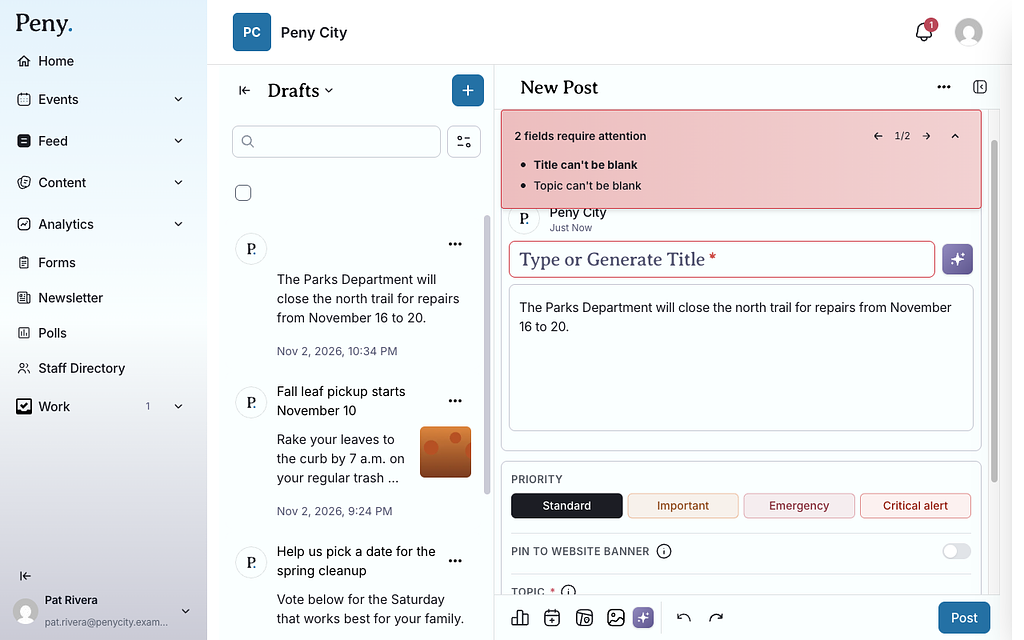
- If something is missing, Peny doesn't publish. A list at the top shows how many fields require attention. Use the arrows to jump to each one, fix it, then click Post again.
- If Peny finds accessibility problems, such as a photo with no description, an Accessibility check window lists them. Click Fix issues to go back, or Publish anyway.
Peny shows "Your post is now live." and takes you to the Feed. Residents who follow the post's topic are notified.
To publish, a post needs a title, a topic, and some content: text, a poll, a photo or video, an event or a map. Emergency and Critical alert posts don't need a topic.
Send a post for review
If your city has set up approvals for posts, Send for review replaces Post.
- Finish your post.
- Click Send for review, then confirm.
Peny shows "Sent for review. You'll hear back here when someone's looked at it." While it's being reviewed, the post can't be edited and shows "This post is under review." If the reviewer clicks Send back, you'll see Changes requested with their comment at the top of the post, and you can edit it again.
Reviewers find the request in Work > Inbox and decide on the post itself with Approve or Send back.
Don't see this? It may not be turned on for your city yet — email support@penyapp.com.
Change a published post
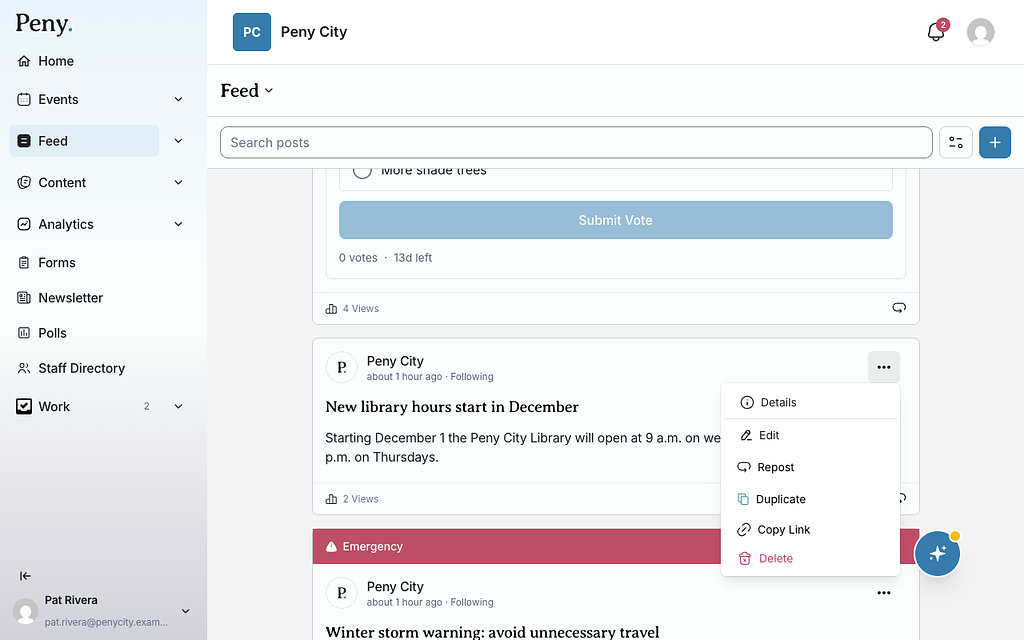
In the Feed, click More options (the three dots) on the post:
- Edit — opens the post in the composer. Make your changes and click Save. If the post is Important, Emergency or a Critical alert, Peny then asks whether to notify residents about the update: click Send Notification or Do Not Notify.
- Duplicate — copies the post into a new draft with Standard priority, not pinned.
- Copy Link — copies the post's web address.
- Delete — removes the post after you confirm.
Where are the posts I haven't finished? In the sidebar, open Feed > Drafts. Drafts save automatically as you type. Click a draft to keep working on it. To delete a draft, open it, click More options (the three dots) at the top of the composer and choose Delete.
Do residents get a notification for every post? Yes. When you publish, Peny notifies the residents who follow the post's topic. Emergency and Critical alert posts go to every resident and also send an email.
Why do I see Save instead of Post? Either you don't have the Publish content permission, or your city reviews posts before they go live. Use Send for review if you see it, or ask your city admin.
Why can't I click Add poll? A post can't have a poll and a photo or video at the same time. Remove the photo or video first.
An AI assistant wrote a draft for me. How do I publish it? Drafts created through the Peny connector for Claude and other AI tools appear in Feed > Drafts. Open the draft, check it, and click Post. Publishing in Peny is what notifies residents; publishing through the AI connector does not. See Connect Claude and other AI tools (Peny MCP).